You can filter the data for Deliverables (reports, dashboards, full views, triggers, etc.) by using Named Lists. A Named List can be static or dynamic. A static list will never change unless you add or remove new part files. The dynamic list can change, like when new part files are created that match the criteria of the dynamic list. Once created, you can use Named Lists to filter the data used in Reports and other Deliverables.
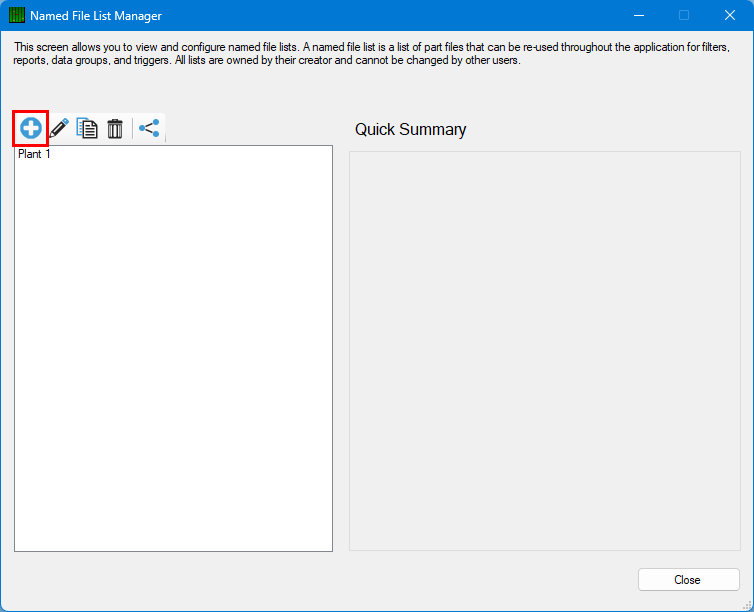
- Go to the Tools > Named File Lists menu.
- In the Named File List Manager, click the blue plus button
 to create a Named List.
- In the Named File List Editor select the blue plus button
 to add part files to the Named List.
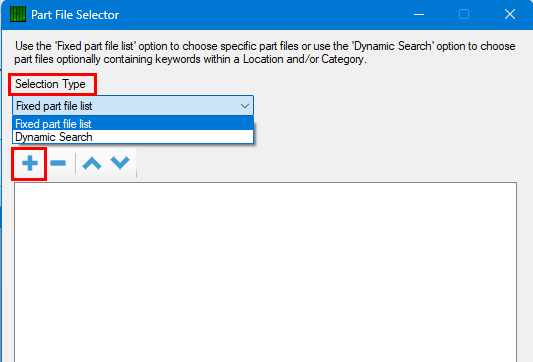
 - On the Part File Selector screen:
- Choose either a "Fixed part file list" (static list) or "Dynamic Search" (dynamic list).
- Click the blue plus button
 to assign part files to the static part file list or specify criteria for the dynamic list.
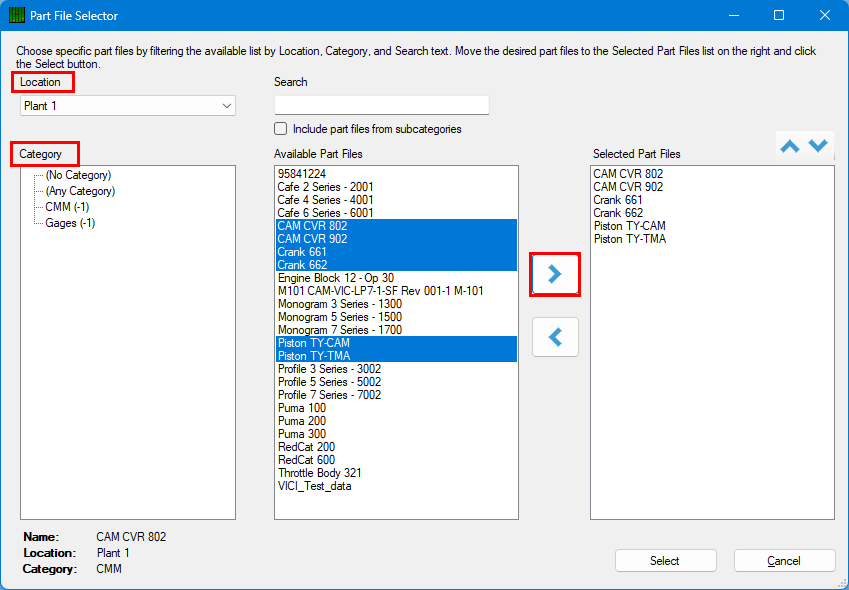
Fixed part file list: choose the part files you want to include in the named list. You can filter by Location and/or Category.
Dynamic Search: choose the Location, Category, or keywords that will be used to filter the part files.
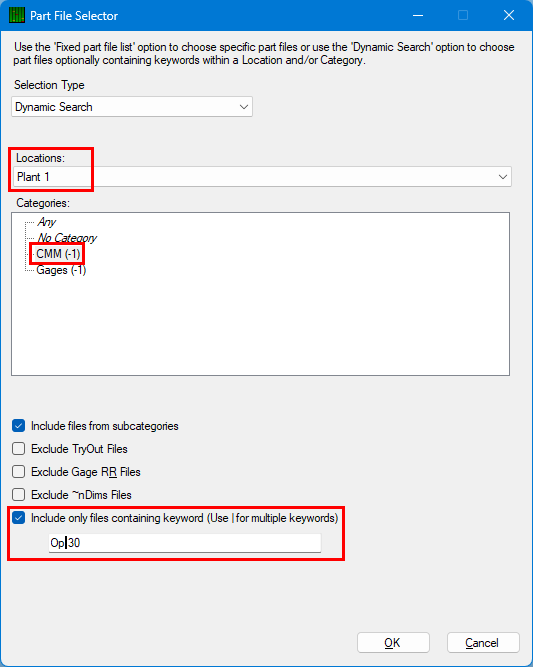
The example above will return only part files with "Op 30" in the name in the Category "CMM" and the Location "Plant 1".
- Create a Data Group using your Named List:
- Go to Tools > Data Groups.
- Create a new Data Group using the plus button
 .
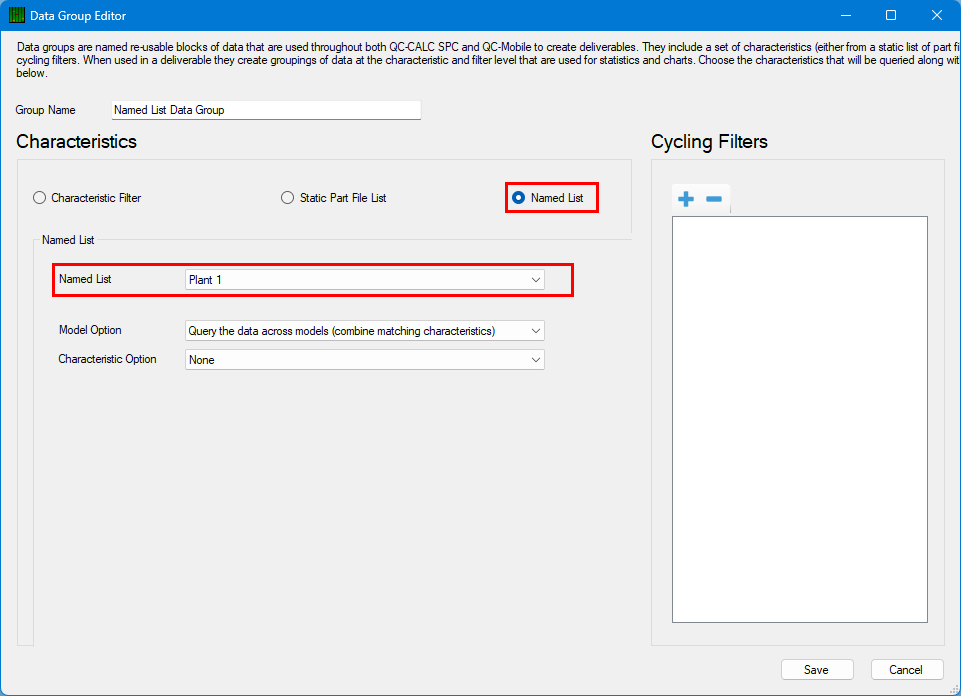
. - Set it to Named List and then choose a Named List.
- Click the Save button to save the Data Group.
- Assign your Named List Data Group to a Deliverable:
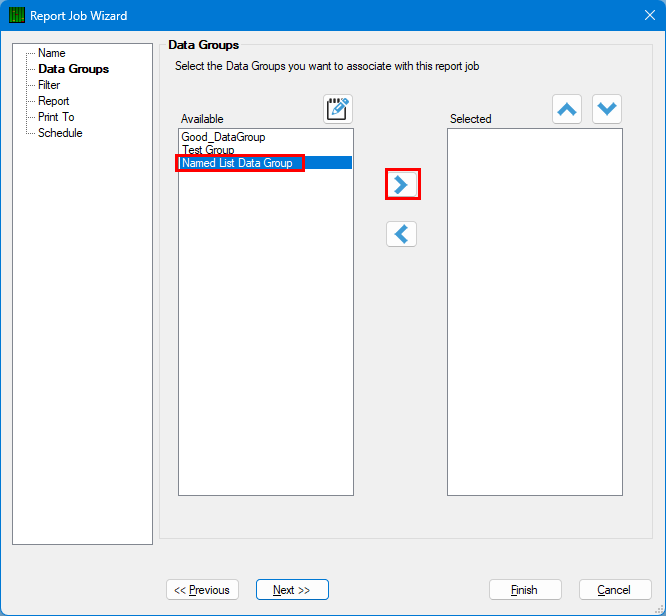
- Create or edit a Report deliverable and go to the Data Groups section.
- Select the Data Group that is using your Named List, then use the > button
 to move it into the Selected column
 - Select the Finish button to save your changes.
