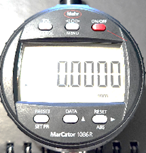
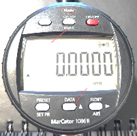
- Turn on the indicator with the red ON/OFF button and the screen will appear as shown.
| 
|
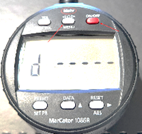
- Press and hold the Menu button until the screen at right appears. If the gage has been previously paired it may display a number. If a number is displayed, press the Preset button (lower left) to clear the number. If OFF is displayed, press the ON/OFF button to clear to display.
| 
|
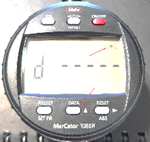
- Press and release the Data button and a small wireless signal will display flashing in the upper right corner of the screen.
The gage is now ready to pair.
| 
|
- On the QC-Gage Global Gages Gage Setup screen press the Connect or Assign button.
| |
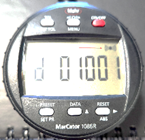
- In a few seconds the wireless symbol on the screen will stop flashing indicating the gage is now paired to QC-Gage. The Gage ID assigned by QC-Gage will also be displayed as shown.
| 
|
- Press and release the Menu button to return to the main screen.
The wireless symbol will be displayed in the upper right corner indicating that the gage is paired and ready to send. The Connect or Assign button on QC-Gage screen will now display “Connected”.
| 
|
- Press the Data button on the MarCator and observe that the value displayed on the MarCator is placed into the box next to the Get Value button on the QC-Gage Gage Setup screen. You should also see the serial number of the gage displayed above the Get Value button (newer revisions of MarCators).
| |
- Pressing the Get Value button will also force the displayed value to be shown on the Setup screen.
| |
- In QC-Gage, press OK twice to return to the main screen of QC-Gage.
| |
- Access the gage in the normal manner when setting up Spec Plans.
| |