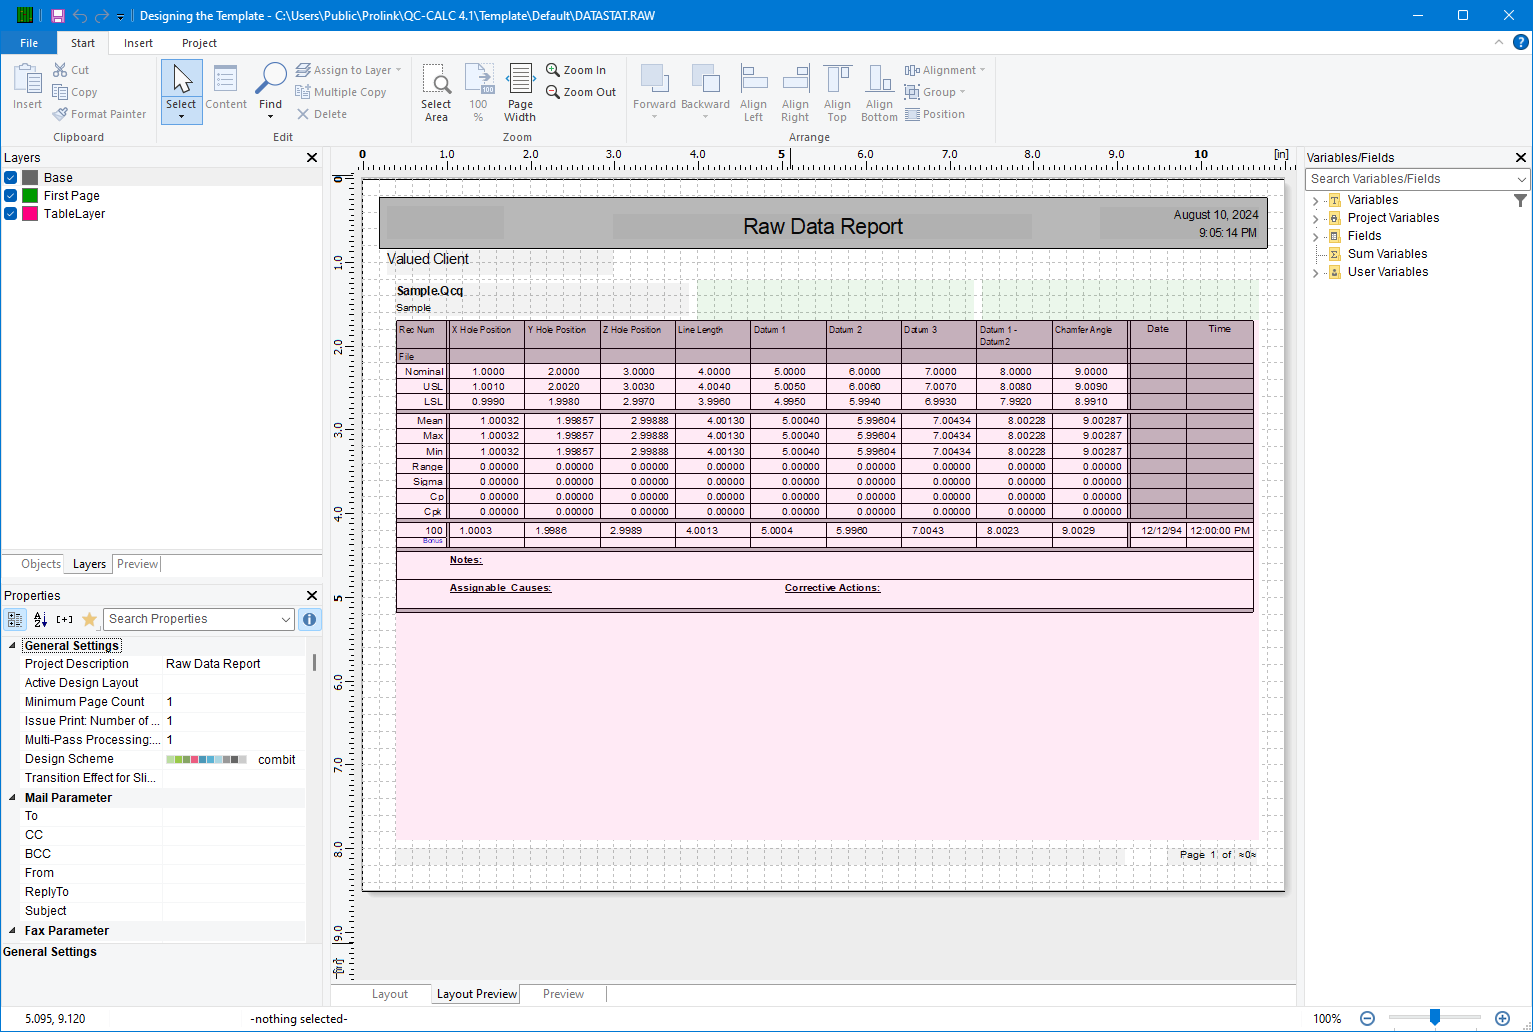
The default Raw Data templates for QC-CALC show the Out of Specification points in red along with ** before the out of spec value. This article gives step-by-step instructions for changing the red font to Bold and removing the ** before the value.
The Report Designer
The directions shown here will remove the control of the font color, add the control of the bold setting, and removing the ** displayed before the out of specification values. This is a lengthy process, but relatively simple to accomplish.
- From QC-CALC Real-Time choose the Report > Design Template... menu.

- Choose the DataStat.raw template from the list of files that appears and click Open.
- The Report Designer now appears on the screen.
- Double-click on the table, and the Table Contents window will appear.
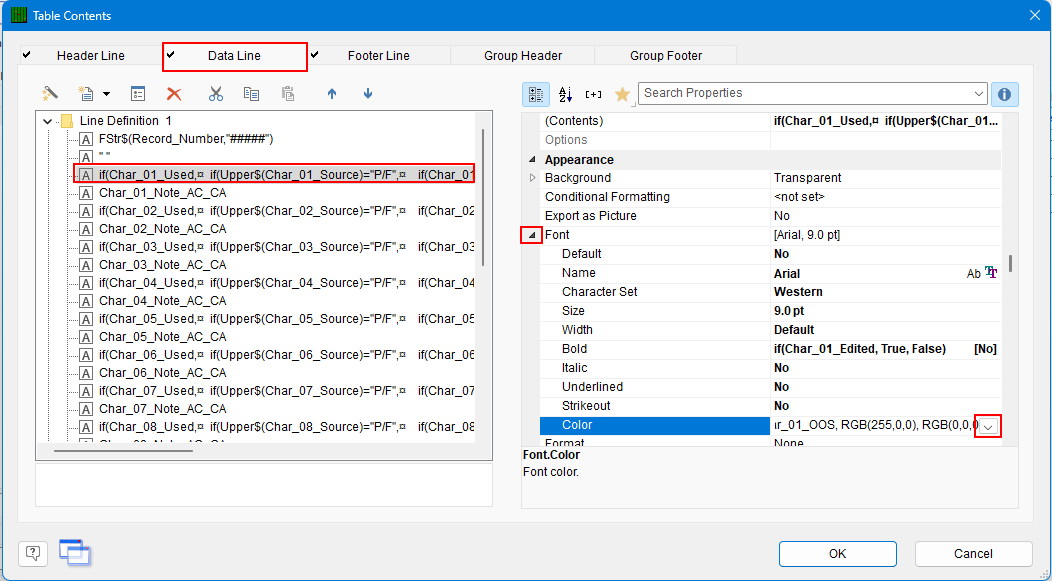
- Choose the Data Line tab, choose the
if(Char_01_Used… line in the Line area - Expand the Font section in the Appearance area by clicking the
 (expand arrow) next to the Font item to see all of the Font properties.
 - Click in the right column for the Color item at the bottom and then click the
 (down arrow) button that appears. In the box that appears, choose the first color.
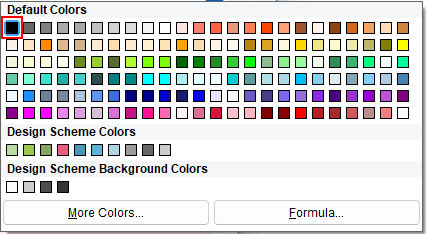
LL.Color.Black will now display as the Color property in the Table Contents window. With that set, all values printed for the characteristic 01 column of the report will be in a black font now.
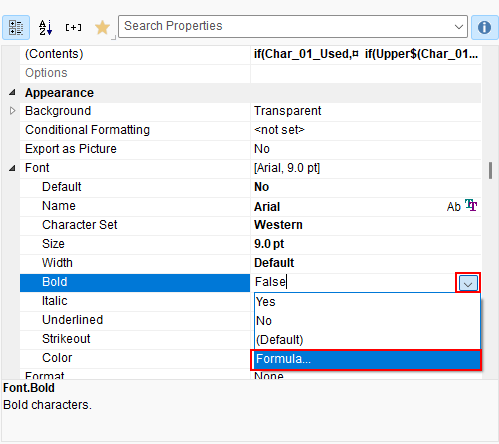
- To make Out of Specification values for Characteristic 1 bold, click in the right column next to the Bold item in the Appearance > Font area, then click the (down arrow) button that appears, and then choose the Formula… option at the bottom of the list.
- In the Edit Font.Bold window that appears the formula that appears at the bottom of the screen needs to be changed.
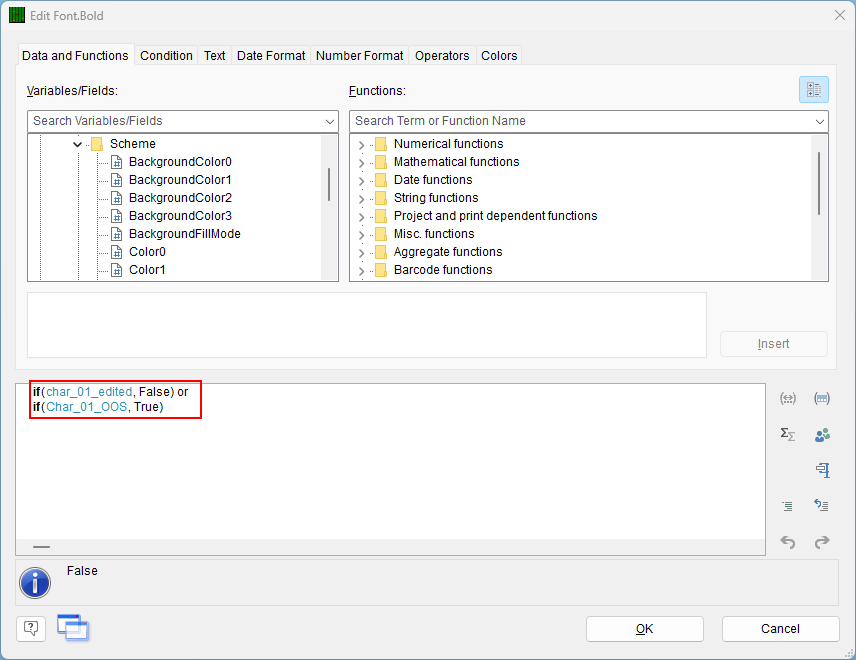
- The code to use is shown and explained below:
if(char_01_edited, False) orif(Char_01_OOS, True)
This test will first look to see if the value about to be printed has been edited. If it has then it will appear bold. The next test checks if the value is Out of Specification. If it is OOS, then it will appear bold.
- Now that an Out of Spec value in Characteristic 01 will be shown Bold and not red, the last step is to remove the ** that appears before the value when it is out of spec. Back in the Table Contents window double-click the
if(Char_01_Used… line in the Line area.
- In the Edit Table window that appears the formula shown at the bottom needs to be edited. Since the testing for the point being out of specification is no longer needed the formula is going to become much shorter. Enter the formula as shown below and click OK.
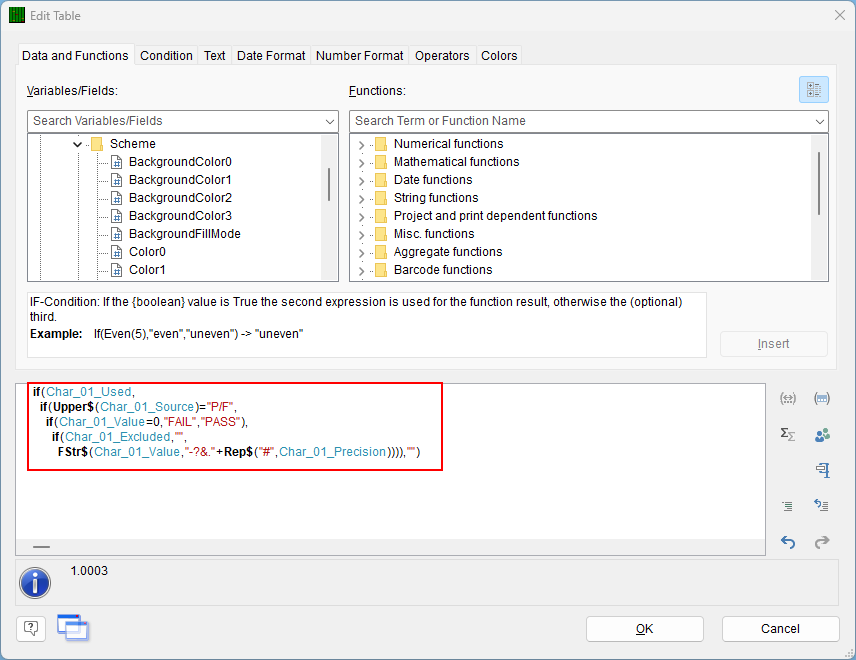
if(Char_01_Used, if(Upper$(Char_01_Source)="P/F", if(Char_01_Value=0,"FAIL","PASS"), if(Char_01_Excluded,"", FStr$(Char_01_Value,"-?&."+Rep$("#",Char_01_Precision)))),"")
- Follow steps 5 thru 10 for the remainder of the characteristics. Make sure to substitute the correct characteristic values (e.g.,
char_02, char_10) instead of the examples that use char_01.
For example, the code sections below have been adjusted for Characteristic 6:
if(char_06_edited, False) orif(Char_06_OOS, True)
if(Char_06_Used, if(Upper$(Char_06_Source)="P/F", if(Char_06_Value=0,"FAIL","PASS"), if(Char_06_Excluded,"", FStr$(Char_06_Value,"-?&."+Rep$("#",Char_06_Precision)))),"")
- You have now made all the necessary changes. You can use the File > Save menu to save your changes and Exit the Report Designer. You will be asked if you changed the number of characteristics in the table of your report. Click the No button on that screen and you are done.