The default Plot Report templates show the Ppk value, but it is possible to change them to show the Cpk value instead. This document gives step-by-step directions for changing the default 1x2 plot report template from a Ppk value to a Cpk value.
The Report Designer
The directions shown here will change Ppk to Cpk in the default 1x2 Plot Report template. It is a short and easy process.
- From QC-CALC Real-Time choose the Report > Design Template menu.

- Choose the “RTPlot 1x2.rtx” template from the list of files that appears and click Open.
- The Report Designer now appears on the screen.

Change Ppk to Cpk
These directions will change the Ppk value to Cpk in the box that contains the calculations.
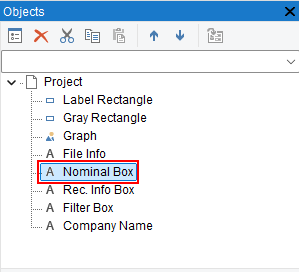
- In the Objects panel in the upper left corner, double-click on the “Nominal Box” item. Note: You can also double-click on the item in the Layout Preview area on the right side of the screen to accomplish the same thing.
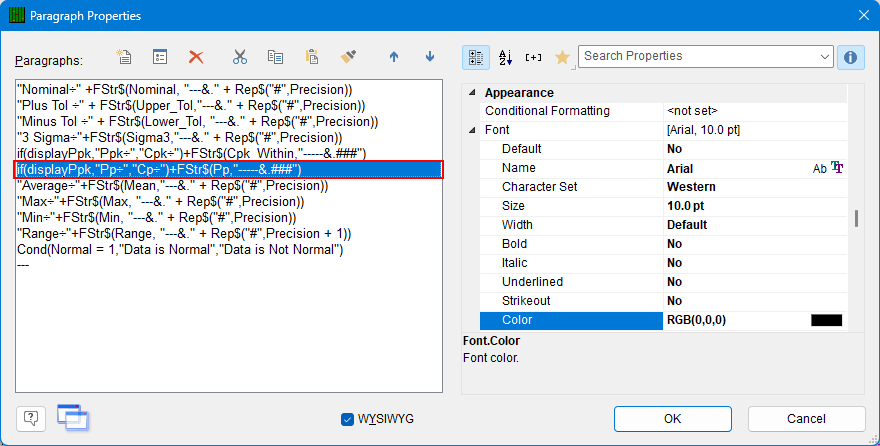
- The Paragraph Properties window is now displayed.
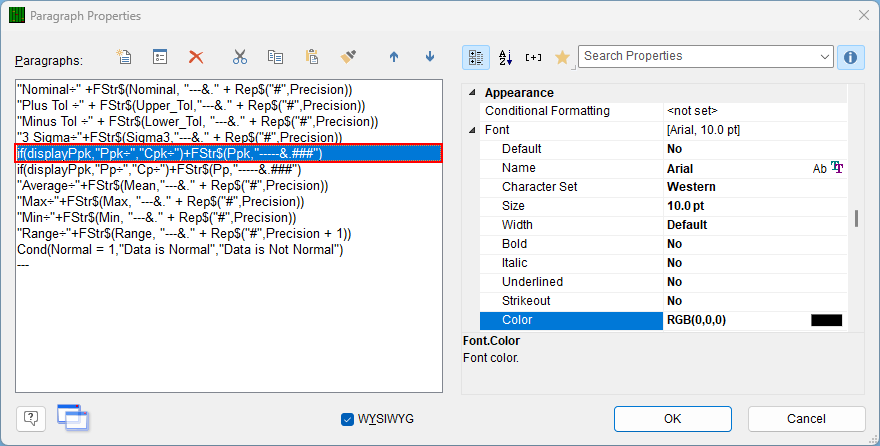
- Double-click the first
if(displayPpk… line, and the Edit Text window appears.
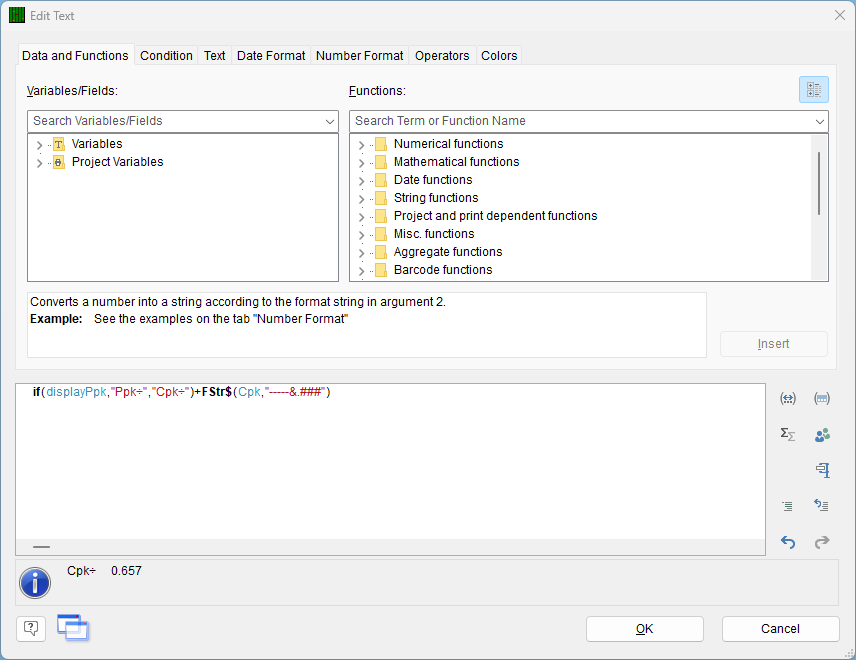
- Change the 2 items in quotes from
Ppk÷","Cpk÷ to Cpk÷”,“Cpk_Within÷. This will fix the labels so they will display the correct value based on the Tools > Options > Global > Show Ppk instead of Cpk option.
- Next, move the cursor to the place immediately following the
k in FStr$(Cpk and delete Ppk using the Delete key. Next, type Cp and a drop-down menu with options will appear. Double-click on Cpk_Within to select it.
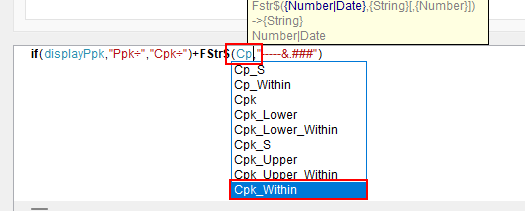
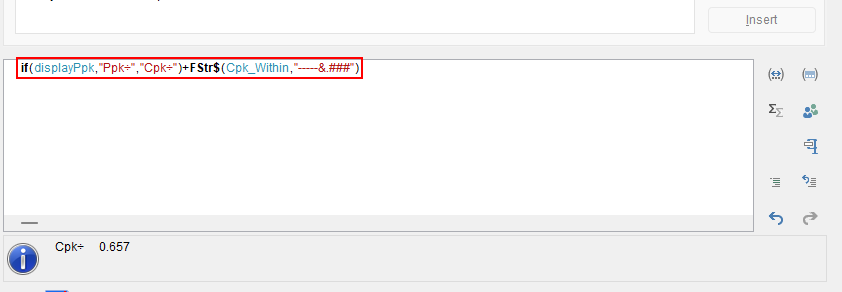
- When you’ve finished the line should be:
if(displayPpk,"Ppk÷","Cpk÷")+FStr$(Cpk_Within,"-----&.###")
- Click OK in the Edit Text window.
Change Pp to Cp
Typically if you want to see the Cpk value instead of the Ppk value, then you will also want to see the Cp value instead of the Pp value. These directions continue from the steps above and will change the Pp value to Cp in the box that contains the calculations.
- Back in the Paragraph Properties window double-click on the line below the line you just fixed to bring up the Edit Text window for that line.
- Change the 2 items in quotes from
Pp÷”,“Cp÷ to Cp÷”,“Cp_Within÷. This will fix the labels so they will display the correct value based on the Tools > Options > Global > Show Ppk instead of Cpk option.
- Next, move the cursor to the place immediately following the p in
FStr$(Cp and delete Cp using the Delete key. Next, type Cp and a drop-down menu with options will appear. Double-click on Cp_Within to select it.
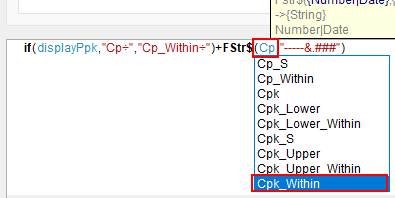
- When you’ve finished the line should be:
if(displayPpk,"Cp÷","Cp_Within÷")+FStr$(Cp_Within,"-----&.###")
- Click OK in the Edit Text window.
- Click OK in the Paragraph Properties window.
- You should now see your name labels and values displayed in the Layout Preview area.
- Click File > Save, then File > Exit to get out of the Report Designer and run your report to see how it looks.